

How to upgrade Windows 11 Home to Pro
You don't need to reinstall anything: entering a Windows 11 Pro key on a Home PC unlocks the Pro features in a few minutes and keeps your files and apps.
Updated 7 October 202601What changes when you upgrade
Windows stays exactly as it is, with your files, apps and settings. You simply get the Pro features on top: BitLocker encryption, Remote Desktop, Hyper-V, Windows Sandbox, Group Policy and joining a work domain. See Windows 11 Home vs Pro for the full list.
02Upgrade step by step
- Save any open work. The PC restarts at the end.
- Open Settings → System → Activation.
- Open Upgrade your edition of Windows and click Change next to Change product key.
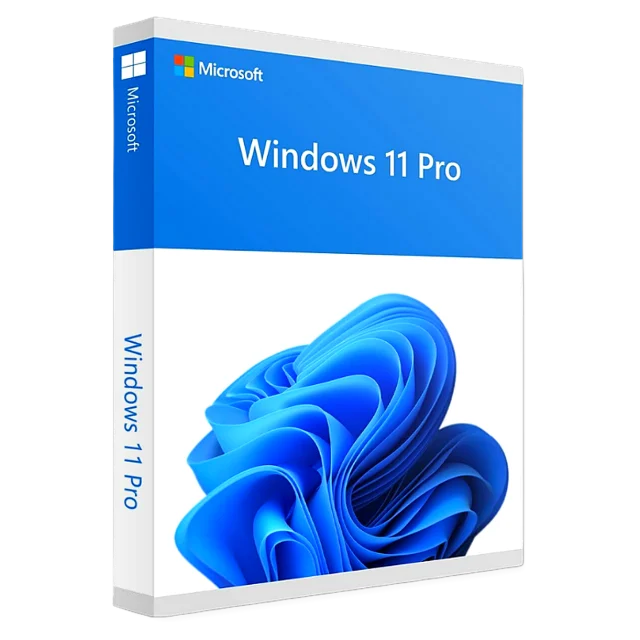
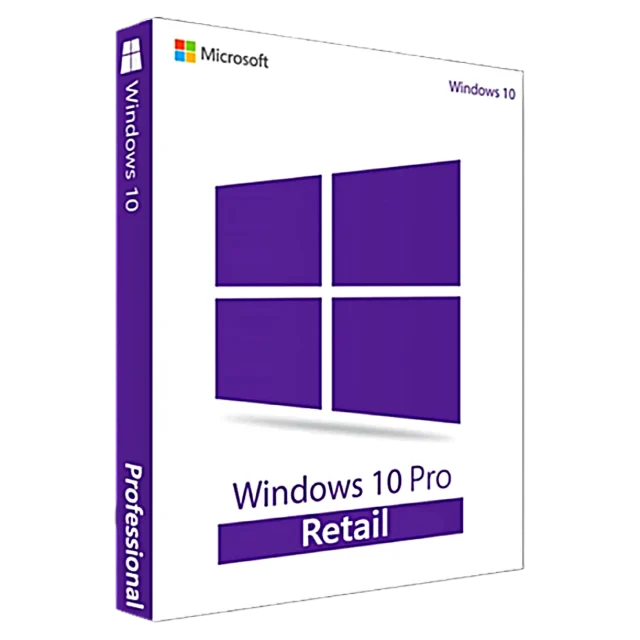
- Enter your Windows 11 Pro key (a Windows 10 Pro key works too) and click Next.
- Click Start to upgrade. Windows prepares the Pro edition and restarts, usually within 5–10 minutes.
- Back in Settings → System → Activation, it should now say Windows 11 Pro and Active.
03Good to know
- Keep the PC connected to power and to the internet during the upgrade.
- It's a one-way upgrade in practice: going back to Home means reinstalling Windows.
- If you see an error such as 0xC004F050, check the key for typos and see the activation errors guide, or contact us.
Products in this guide
Related guides
How to reactivate Windows after a motherboard or hardware changeWindows not activated after replacing the motherboard or upgrading your PC? Use the Activation troubleshooter, re-enter a retail key, and fix errors like 0x803F7001.Read guide →How to remove the "Activate Windows" watermark permanentlyWhy the "Activate Windows – Go to Settings to activate Windows" watermark appears on Windows 11 and 10, what it limits, and the only reliable way to remove it for good.Read guide →Windows 10 end of support: your options in 2026Windows 10 support ended on October 14, 2025. How Extended Security Updates work until October 2027, how to check if your PC can run Windows 11, and how to upgrade.Read guide →How to activate Windows 11 or Windows 10 with a product key (Settings or CMD)Step-by-step: enter your 25-character product key in Windows 11 or Windows 10 Settings, or activate from the command line. Plus what to do if activation fails.Read guide →